Top tips for a successful tile installation

Blog Banner.png

Tile is supposed to last a long time, so it is important to make sure you get started on the right foot. We have put together some quick tips for a successful tile installation.

  1. Have you completed a project like ours before?

    This may seem silly at first, however with so many different types of projects out there it is important to make sure your installer has completed a job like yours in the past. Unless you have worked with the installer before and are sure of their abilities you don’t want to be their guinea pig.

  2. What installation products are you planning on using?

    With so many different areas that tile can be installed, there are different tile installation products out there. Depending on the type of tile being installed, the location the tile is being installed and the type of grout is being used all factor in the products your installer will use. It is important to make sure that the installer uses the correct materials for your particular project.

  3. Ask to verify layout

    Tile in a large part is a visual art, so personal preference plays a large role in tile layout. The best way to ensure a successful tile install is to make sure you and the tile installer are on the same page. This is especially true with intricate patterns or a especially visual area. Spend the time, and have your installer clearly show you how your final install will look.

  4. Have the installer view the area before installation

    Seems fairly basic, however these days with COVID and social distancing we have been doing estimates off site quite a bit. It is important to have your installer physically view the area to be tiled. A picture can say a thousand words, however inconsistencies such as a bowed wall or a spongy sub floor can easily be missed by only viewing a photo or through video chat. If your installer has not been to your home before the install date it is important to understand there may be unexpected costs and increased time spent on your project.

  5. Ask what type of waterproofing or shower system will be used

    Always ask your tile installer about what waterproofing will be used. No one thing provides us with more work then leaking showers. The simple way to avoid this is to use an experienced tile installer and to use a quality waterproofing system. There are a few different systems out there however all of them are designed to stop water from getting where it is not supposed to be. Tile and grout can handle continuously being soaking wet but wood can’t. Our team uses the full Schluter Systems and Wedi GmbH product lines to make sure we can fully stand behind the work we complete in your home or business.

Have any other questions about tile installation or would like a quote? Feel free to contact us at 403-888-3182 or send us a email.
Little Luxurious Add Ons

tileluxuries.png

There are a few items that really can make your tile installation go from okay to wow! Each of these products has a varying degree of cost and additional time involved however we feel in the right application they are worth it.

Curbless Showers/Barrier-Free Showers

Curbless and barrier-free showers are a great way to give your bathroom a Spa-like look with the added benefit of helping you create a space that allows you to age in place or create a shower where a wheelchair or walker can be rolled into the shower.

The process of creating this type of shower has been simplified greatly by new products that have been brought to market by Wedi and Schluter.

Barrier Free Shower

Barrier Free Shower

Heated Floors

There are are few things that turn up the luxury factor then heated tile floors. When your feet are warm, you feel warm. That is why more and more customers are using heated flooring throughout there homes.

Typically we are installing an electric style of in-floor heating. This involves electric heating cables installed between the subfloor and the finished flooring. This wire is then connected to power through a thermostat that regulates the temperature according to your inputs or schedule. The wires then heat the floor and then that heat radiates throughout the room. The products we typically use here are Ditra Heat from Schluter or Nu-Heat. Both manufacturers have a great variety with 120v and 240v systems so that we can meet any requirements that the job may require.

Another option besides electric is water or hydronic heating. This type of system is best for a whole home or similar large area and can be installed in a retrofit solution with products such as Warmboard-R from Warmboard.

Shower Niche’s

In almost every tiled shower we build these days we install a tiled niche. This option allows for a space for shampoo and soap to be tucked away and somewhat hidden. This avoids a gunky shelf or a corner caddy that rusts away.

Most often these are installed in the space between walls however they can also be custom made to take any shape or size desired.

Aria Flush mount Heat Vent

Aria Flush mount Heat Vent

Flush Mount Heat Vents

This a relatively new option when it comes to tile. Similar to flush mount Hardwood flooring heat vents, one company Aria makes both a retrofit option and a flush mount option that allows heat vents to blend in with their surroundings. This has been possible with other products or processes in the past however, the cost has been prohibitive. Aria has created an inexpensive option that is friendly to most budgets.

Barrier-free showers

ACCESSIBLE DESIGN.png

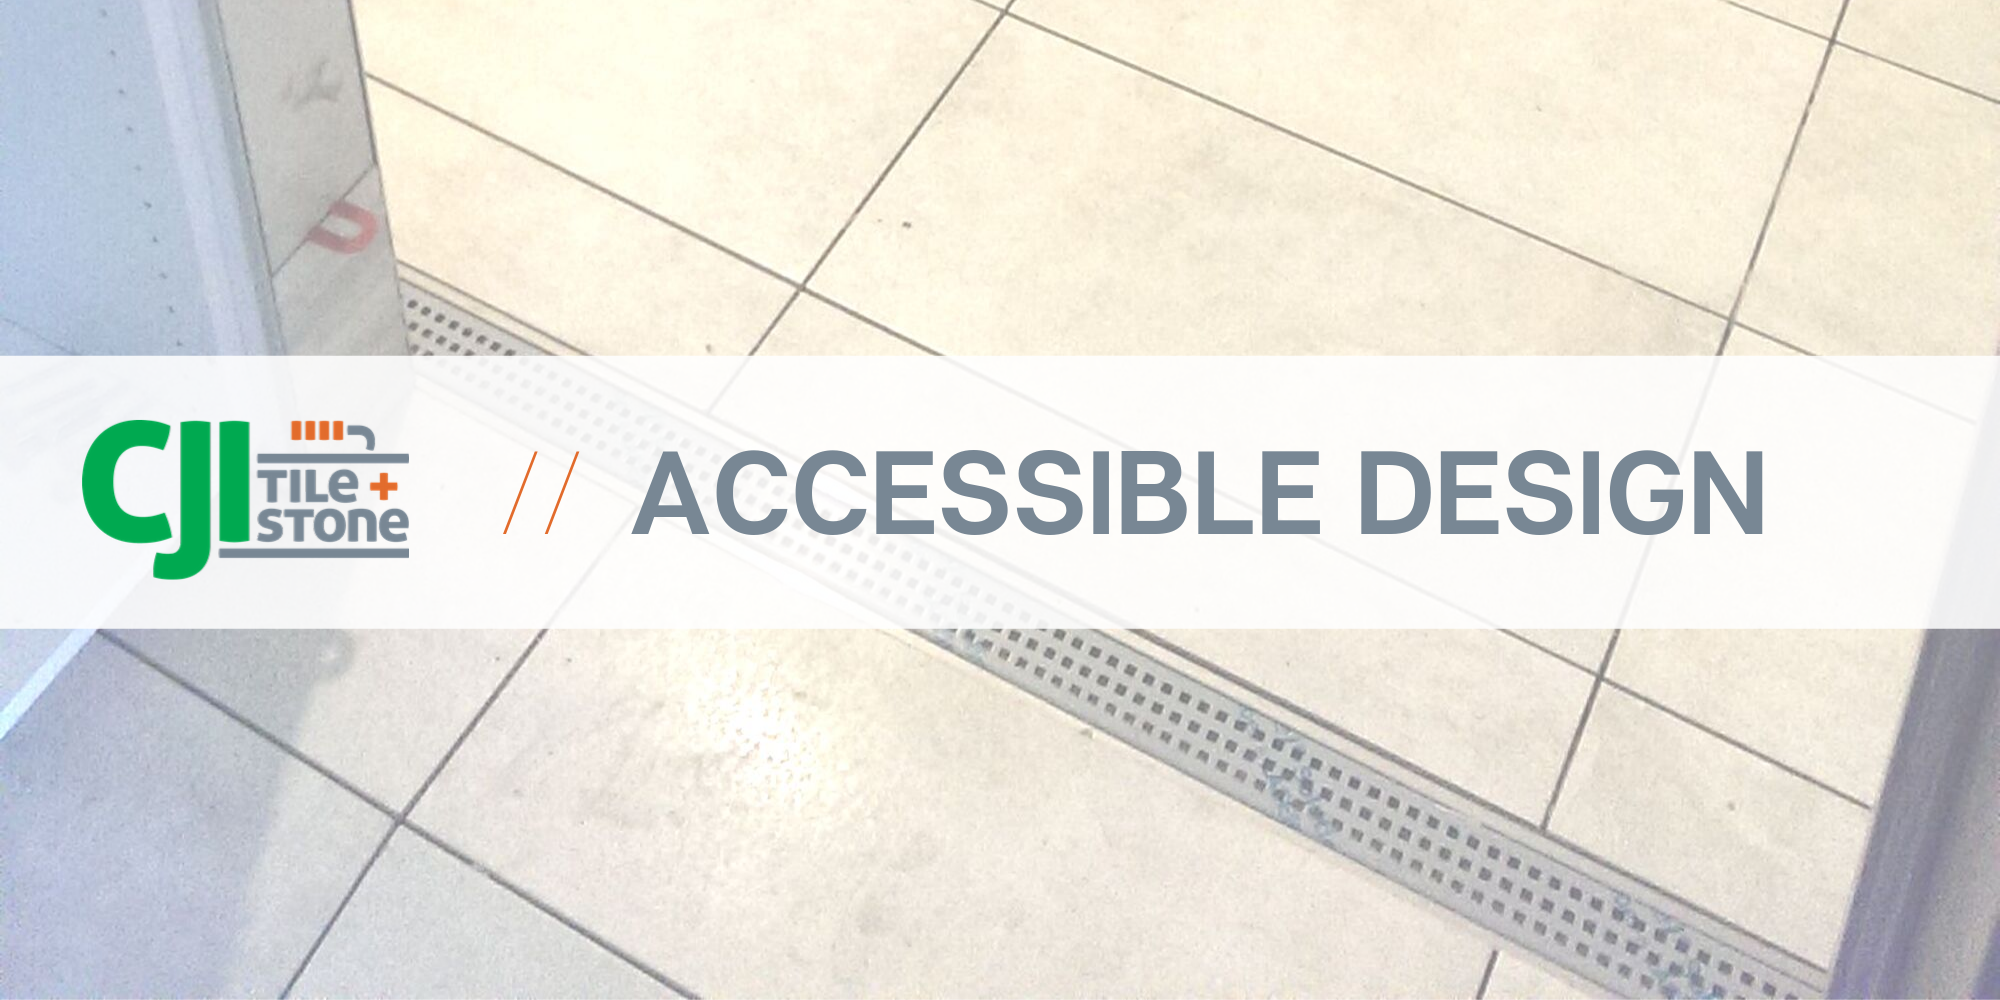
New products allow us to build a barrier-free shower easier than ever before. Wedi has introduced the Wedi Fundo Ligno shower base. Schluter has introduced their KERDI-LINE linear drain systems which ties into their existing product line.

The Fundo Ligno shower base has been designed for wood frame construction. This shower base allows for barrier-free showers to be constructed in most bathrooms easily and without time consuming levelling or major alteration of the structure. Its thin profile of 20 mm (just over 3/4″) easily matches up with existing subfloor in most homes. As well, in concrete structures, the thin 3/4″ profile requires less build up than the usual go-to foam shower base or a traditional dry pack shower base. This allows us to create shorter ramps, allowing for more flexibility in design.

Completing an install with Wedi’s shower kits is also extremely fast. Typically the prep work takes only a few hours and the tiling can begin almost immediately after.

Schluter’s KERDI-LINE system, while not being as simple to create barrier-free showers as the Wedi shower base, does allow for more design flexibility. These elegant, low-profile drains are available in sizes from 20″-72″ in 4″ increments with either a centre or offset drain outlet location. This drain’s low profile and the flexibility in sizing and drain location allows for these drains to be placed in locations that allow for minimum transition from other areas outside the shower - keeping barriers at a minimum.

Tile is perfectly suited to creating these spaces, whether it be a residential or commercial wet room or bathroom.  Tile’s durability and endless design capabilities combined with Schluter and Wedi’s waterproofing reliability and ease of install make these installs come together perfectly and look amazing. This final product also has the benefit of not needing to look “accessible”.  Which if resale is important is something to keep in mind.

Require a barrier-free shower? We would be happy to help you on your next project. As well, if you have limited mobility and are low-income we work with RAD Renovations/RAMP to complete these type of projects. For more information regarding these programs follow the links below:

Accessible Housing RAD Renovations

Residential Access Modification Program Alberta